This post may contain affiliate links. When you purchase through links on our site, we may earn an affiliate commission.
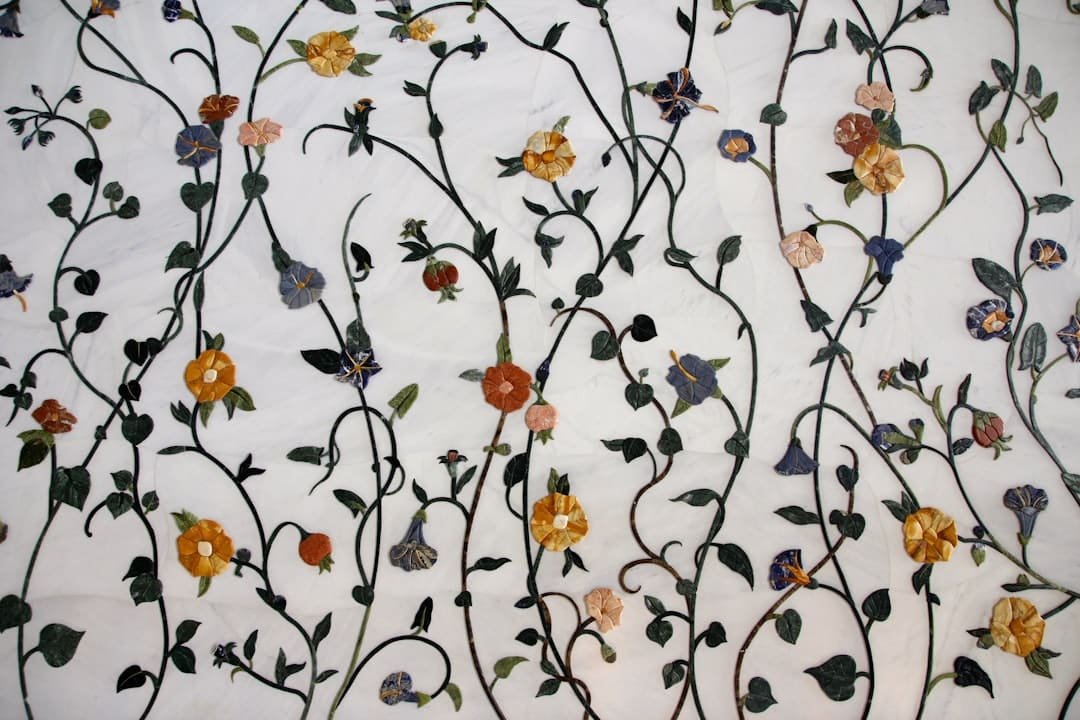
Pressed flower wall art is a captivating way to bring the beauty of nature indoors. As I delve into this creative endeavor, I find myself enchanted by the delicate details and vibrant colors that flowers can offer. The process of pressing flowers transforms them into timeless pieces of art, allowing me to capture fleeting moments of nature’s splendor.
Each pressed flower tells a story, evoking memories of sunny days spent in gardens or serene walks through blooming fields. This art form not only serves as a decorative element but also as a personal expression of my connection to the natural world. Creating pressed flower wall art is more than just a craft; it’s a therapeutic experience that allows me to slow down and appreciate the intricacies of each bloom.
The act of selecting flowers, pressing them, and arranging them into a cohesive design becomes a meditative practice. I find joy in experimenting with different combinations, colors, and textures, ultimately crafting pieces that reflect my unique style and personality. As I embark on this artistic journey, I invite others to explore the enchanting world of pressed flower wall art and discover the beauty that lies within each petal.
Key Takeaways
- Pressed flower wall art is a beautiful and creative way to preserve the beauty of flowers and create stunning home decor.
- When choosing flowers for pressing, it’s important to select blooms that are fresh, vibrant, and free from blemishes.
- Pressing and drying flowers can be done using a flower press, heavy books, or a microwave, and requires patience and attention to detail.
- Designing your pressed flower wall art allows for endless creativity, from creating intricate patterns to arranging flowers in a meaningful way.
- Mounting and framing pressed flowers should be done carefully to ensure the delicate blooms are protected and displayed beautifully.
Choosing the Right Flowers for Pressing
When it comes to selecting flowers for pressing, I’ve learned that not all blooms are created equal. Some flowers retain their color and shape better than others, making them ideal candidates for this art form. I often gravitate towards flat, thin flowers like pansies, daisies, and violets, as they lend themselves well to pressing.
Their delicate structures allow for intricate details to shine through once they are dried. Additionally, I find that herbs such as lavender and mint not only add visual interest but also infuse a delightful fragrance into my artwork. In my experience, the best time to gather flowers is during the peak of their bloom.
I make it a point to collect them on dry days when the sun is shining, as moisture can hinder the pressing process. I also pay attention to the colors and shapes that resonate with me, often choosing a palette that reflects the season or my mood. By carefully selecting flowers that complement each other, I can create harmonious arrangements that evoke a sense of balance and beauty in my pressed flower wall art.
Pressing and Drying Flowers
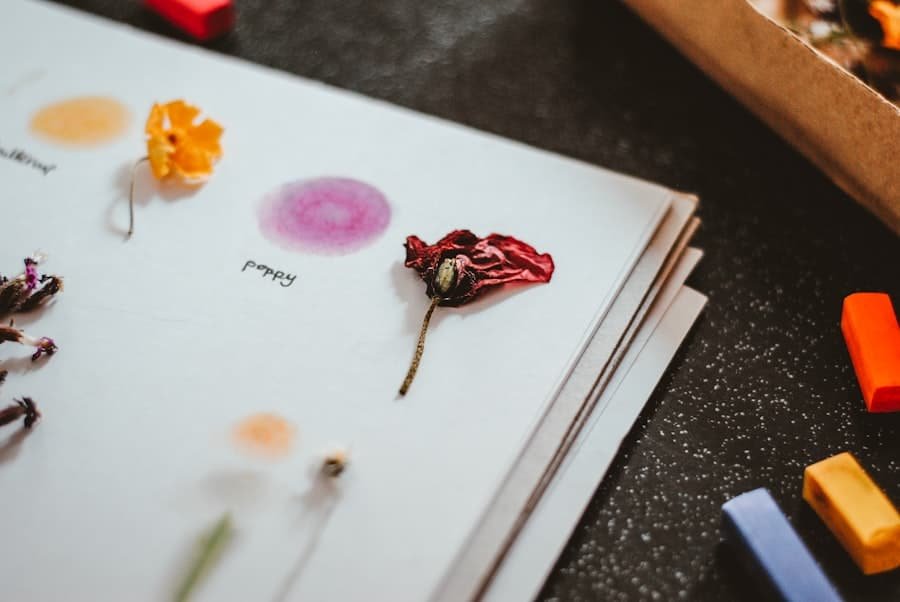
The pressing and drying process is where the magic truly happens. I typically use a flower press or heavy books to flatten my chosen blooms. Placing the flowers between sheets of parchment paper or absorbent paper towels helps to absorb moisture while preventing any discoloration.
I find it fascinating how, over time, these vibrant flowers transform into delicate, flat pieces of art. It usually takes about two to four weeks for the flowers to fully dry, and during this time, I often check on them with anticipation, eager to see how they will turn out. While traditional pressing methods work well, I’ve also experimented with microwave flower pressing for quicker results.
By placing flowers between two pieces of paper towel and microwaving them for short intervals, I can achieve beautifully pressed blooms in just a few minutes. This method requires careful attention to avoid overheating, but it’s an exciting alternative when I’m eager to start designing my wall art. Regardless of the method I choose, the thrill of unveiling perfectly pressed flowers never diminishes.
Designing Your Pressed Flower Wall Art
| Step | Description |
|---|---|
| 1 | Gather fresh flowers and leaves |
| 2 | Place flowers between parchment paper |
| 3 | Press flowers using heavy books |
| 4 | Arrange pressed flowers on cardstock |
| 5 | Frame the pressed flower art |
Once my flowers are pressed and dried, the real fun begins: designing my wall art. I often lay out my pressed flowers on a blank canvas or in a shadow box to visualize how they will come together. This stage allows me to play with different arrangements, experimenting with various compositions until I find one that resonates with me.
I enjoy creating themes based on color schemes or seasonal motifs—like a vibrant spring garden or a serene autumn landscape—each arrangement telling its own story. Incorporating other elements into my designs adds depth and interest. Sometimes, I include leaves, twigs, or even small stones to enhance the natural feel of my artwork.
I also consider the overall layout; whether I want a symmetrical design or something more organic and free-flowing. The process is incredibly rewarding as I witness my vision come to life with each carefully placed flower. Ultimately, my goal is to create a piece that not only captures the essence of nature but also reflects my personal aesthetic.
Mounting and Framing Pressed Flowers
Once I’ve finalized my design, it’s time to mount and frame my pressed flower wall art. This step is crucial for preserving the beauty of my creations while also making them ready for display. I typically use acid-free glue or double-sided tape to secure the flowers onto my chosen backing material, ensuring that they are firmly in place without causing damage.
It’s important for me to take my time during this process, as careful placement can make all the difference in the final presentation. Framing is another exciting aspect of showcasing my pressed flower art. I often opt for simple frames that allow the artwork to shine without overwhelming it.
Natural wood frames complement the organic feel of the flowers, while sleek metal frames can add a modern touch. I also consider using glass or acrylic covers to protect my artwork from dust and fading over time. The moment I see my finished piece framed and ready for display is always exhilarating; it feels like a celebration of nature’s beauty captured in time.
Tips for Preserving the Color of Pressed Flowers
One challenge I’ve encountered in creating pressed flower wall art is preserving the vibrant colors of the blooms. Over time, some flowers may fade or lose their luster due to exposure to light and air. To combat this issue, I’ve discovered several effective techniques that help maintain their original hues.
One method involves using glycerin during the pressing process; by soaking the stems in a glycerin solution before pressing, I can help retain moisture and color in the flowers. Additionally, I’ve found that storing my pressed flowers away from direct sunlight significantly slows down fading. When displaying my artwork, I choose locations that receive indirect light or use UV-protective glass in my frames.
This simple adjustment has made a noticeable difference in how long my pressed flower art retains its vibrancy. By being mindful of these preservation techniques, I can ensure that my creations remain as stunning as the day they were made.
Displaying and Caring for Pressed Flower Wall Art
Displaying my pressed flower wall art is one of the most rewarding aspects of this creative journey. Each piece becomes a focal point in my home, sparking conversations and evoking memories for anyone who sees it. I often hang my artwork in well-lit areas where it can be appreciated fully but also take care to avoid places with high humidity or extreme temperature fluctuations that could damage the flowers over time.
Caring for my pressed flower art is relatively simple but essential for maintaining its beauty. Regular dusting with a soft cloth helps keep the surface clean without risking damage to the delicate flowers underneath. If I notice any signs of fading or discoloration, I take immediate action by adjusting its placement or considering re-framing with UV-protective materials.
By treating each piece with care and respect, I ensure that my pressed flower wall art continues to bring joy and inspiration for years to come.
Inspiration for Pressed Flower Wall Art Projects
As I explore the world of pressed flower wall art, I’m constantly inspired by new ideas and projects that push the boundaries of creativity. One project that excites me is creating seasonal displays—using flowers from each season to reflect nature’s ever-changing beauty throughout the year. For instance, in spring, I might use bright tulips and daffodils, while autumn could inspire me to incorporate rich hues from marigolds and chrysanthemums.
Another source of inspiration comes from nature itself; I often take walks in local parks or gardens with my sketchbook in hand, jotting down ideas for future designs based on what catches my eye. Additionally, social media platforms like Pinterest and Instagram are treasure troves of creativity where artists share their unique interpretations of pressed flower art. By engaging with these communities, I’m continually motivated to experiment with new techniques and styles, ensuring that my journey in pressed flower wall art remains fresh and exciting.
In conclusion, pressed flower wall art is not just an artistic endeavor; it’s a celebration of nature’s beauty and an expression of personal creativity. From selecting the right flowers to designing and displaying finished pieces, each step offers an opportunity for reflection and joy. As I continue to explore this enchanting craft, I’m reminded of the delicate balance between nature and art—a balance that inspires me every day.
If you’re looking to transform your space with some DIY decor, you may want to check out this article on interior design tips from A to Z Cozy Corner. In addition to creating pressed flower wall art, incorporating these design tips can help you craft a serene home environment that radiates warmth and joy. Pressed flower wall art can be a beautiful addition to any cozy nook, so be sure to explore all the possibilities for creating a peaceful sanctuary in your home.
FAQs
What is pressed flower wall art?
Pressed flower wall art is a form of art where dried and pressed flowers are arranged and displayed on a surface, such as paper or canvas, to create a decorative piece for hanging on the wall.
How do you press flowers for wall art?
To press flowers for wall art, you can place the flowers between the pages of a heavy book or use a flower press. Leave the flowers to dry and press for several weeks until they are completely flat and dry.
What materials are needed for creating pressed flower wall art?
Materials needed for creating pressed flower wall art include pressed flowers, a surface for displaying the flowers (such as paper or canvas), adhesive (such as glue or double-sided tape), and a frame (if desired).
What are the steps to create pressed flower wall art?
The steps to create pressed flower wall art include arranging the pressed flowers on the chosen surface, securing the flowers in place with adhesive, and framing the finished piece if desired.
How do you preserve pressed flower wall art?
To preserve pressed flower wall art, it is important to keep the piece away from direct sunlight and moisture, as these can cause the flowers to fade or deteriorate. Additionally, framing the piece with UV-protective glass can help to further protect the flowers from fading.
 using WordPress and
No responses yet