This post may contain affiliate links. When you purchase through links on our site, we may earn an affiliate commission.
Creating seashell resin coasters is a delightful way to bring a touch of the ocean into my home. These coasters not only serve a practical purpose but also act as beautiful decorative pieces that can evoke memories of beach vacations and sunny days by the shore. The combination of natural seashells and glossy resin creates a stunning visual effect that can complement any decor style, from coastal chic to modern minimalism.
As I embark on this DIY project, I find myself excited about the endless possibilities for creativity and personalization. The process of making seashell resin coasters is not only enjoyable but also quite rewarding. It allows me to express my artistic side while crafting something functional.
Whether I choose to use shells collected from my own beach trips or purchase them from a craft store, each coaster becomes a unique piece of art. The versatility of resin means I can experiment with colors, shapes, and designs, making each coaster a reflection of my personal style. As I dive into this project, I am eager to share the steps involved in creating these beautiful coasters, from gathering materials to displaying the final product.
Key Takeaways
- Seashell resin coasters are a beautiful and functional DIY project that can add a touch of the beach to your home decor.
- Gathering materials for your project, such as resin, seashells, and a silicone mold, is the first step in creating your coasters.
- Preparing and arranging seashells in the mold is a creative process that allows you to design unique and personalized coasters.
- Mixing and pouring resin over the seashells creates a durable and glossy finish for your coasters.
- Adding color and design to your coasters with pigments and alcohol inks can enhance the natural beauty of the seashells and create a custom look for your coasters.
Gathering Materials for Your DIY Project
Primary Components
To start crafting my seashell resin coasters, I need to gather all the necessary materials. The primary components include epoxy resin, hardener, seashells, and a mold for shaping the coasters. I often find that purchasing a resin kit simplifies the process, as it typically includes both the resin and hardener in the right proportions.
Additional Supplies
Additionally, I make sure to have disposable cups for mixing, stirring sticks, and gloves to protect my hands during the process. Having everything organized and ready to go helps me feel prepared and excited to begin.
Decorative Elements
In addition to the essential materials, I also consider any decorative elements I might want to incorporate into my coasters. This could include glitter, dried flowers, or even small pieces of colored glass. The beauty of this project lies in its flexibility; I can choose to keep it simple with just seashells or add layers of complexity with various embellishments. As I gather my supplies, I take a moment to envision how I want my coasters to look, which fuels my enthusiasm for the creative journey ahead.
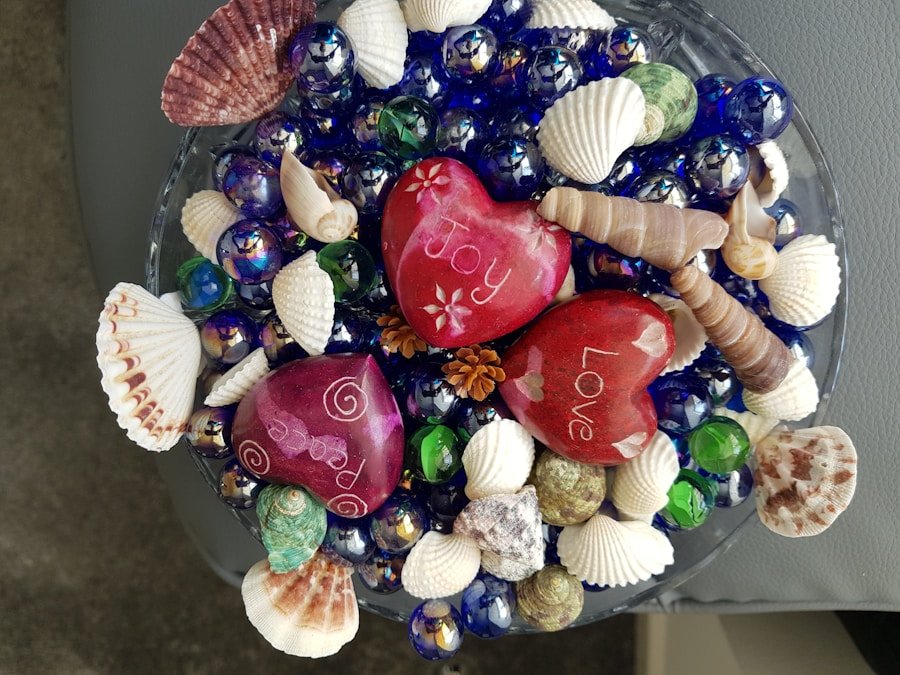
Preparing and Arranging Seashells

Once I have all my materials ready, the next step is preparing and arranging the seashells. I start by cleaning the shells thoroughly to remove any sand or debris that may have accumulated on them. A gentle wash with soap and water usually does the trick, followed by a rinse and thorough drying.
This step is crucial because any residue left on the shells can affect how well they adhere to the resin and may even impact the final appearance of the coasters. After cleaning, I lay out my seashells on a flat surface to experiment with different arrangements. This part of the process is where my creativity truly shines.
I play around with various combinations of shells, considering their sizes, shapes, and colors. Some shells may be larger and more dominant in the design, while others can serve as subtle accents. I often find that creating a balanced composition enhances the overall aesthetic of the coasters.
Once I’m satisfied with my arrangement, I take a photo for reference before moving on to the next step.
Mixing and Pouring Resin
| Resin Mixing and Pouring Metrics | Value |
|---|---|
| Resin Mixing Time | 3-5 minutes |
| Resin Pouring Time | 10-15 minutes |
| Resin Pot Life | 20-30 minutes |
| Resin Mixing Ratio | 1:1 or 2:1 |
| Resin Curing Time | 24-72 hours |
With my seashells arranged and ready, it’s time to mix and pour the resin. Following the instructions provided with my resin kit is essential for achieving the best results. Typically, this involves measuring equal parts of resin and hardener into a mixing cup.
As I pour each component, I take care to avoid any bubbles forming in the mixture. Stirring slowly and thoroughly is key; I often set a timer for about three minutes to ensure that everything is well combined. Once the resin is mixed, I carefully pour it into the mold, filling it just enough to cover the bottom layer where my seashells will sit.
This initial pour creates a base for the shells to adhere to. After pouring, I gently tap the mold on the table to release any trapped air bubbles that may have formed during mixing. It’s fascinating to watch as the resin settles into place, creating a smooth surface that will soon encapsulate my seashells.
Adding Color and Design to Your Coasters
At this stage in the process, I have the opportunity to add color and design elements to my coasters. If I want to incorporate color into my resin, I can use alcohol inks or pigment powders specifically designed for resin projects. A few drops of vibrant color can transform an ordinary coaster into a stunning piece of art.
I enjoy experimenting with different color combinations, swirling them together for a marbled effect or layering them for depth. Once I’m satisfied with the color application, it’s time to place my arranged seashells into the mold. Carefully positioning each shell allows me to create a unique design that reflects my personal style.
I often find myself rearranging them slightly as I go along, ensuring that they are evenly spaced and visually appealing. After placing all the shells, I pour additional resin over them until they are fully submerged. This final layer not only secures the shells in place but also adds a glossy finish that enhances their natural beauty.
Demolding and Finishing Touches

After allowing the resin to cure for at least 24 hours—though sometimes longer depending on the product—I eagerly anticipate demolding my coasters. Carefully removing them from the mold is an exciting moment; it feels like unwrapping a gift! If all goes well, I should see beautifully finished coasters with vibrant colors and perfectly preserved seashells.
However, if there are any rough edges or imperfections, I can easily sand them down using fine-grit sandpaper for a smooth finish. Once demolded and sanded, I often apply a coat of food-safe sealant if I plan on using them for drinks or food items. This extra step ensures that my coasters are not only beautiful but also functional and safe for everyday use.
After sealing, I let them dry completely before putting them into action on my coffee table or dining area.
Tips for Caring for Your Seashell Resin Coasters
Caring for my seashell resin coasters is essential if I want them to last for years to come. One of the most important tips I’ve learned is to avoid exposing them to direct sunlight for extended periods; UV rays can cause discoloration over time. Instead, I place them in shaded areas or use them indoors where they can be appreciated without fading.
Cleaning is another crucial aspect of maintenance. To keep my coasters looking pristine, I use a soft cloth or sponge with mild soap and water for cleaning. Harsh chemicals or abrasive materials can scratch or damage the resin surface, so it’s best to stick with gentle cleaning methods.
Additionally, using coasters under drinks helps prevent moisture rings or heat damage from hot cups.
Creative Ways to Display and Use Your Coasters
Now that I’ve created these stunning seashell resin coasters, I’m excited about finding creative ways to display and use them in my home. One idea is to arrange them on a decorative tray alongside candles or small plants; this creates an inviting centerpiece that draws attention while showcasing my handiwork. Alternatively, I can use them as part of a beach-themed vignette on a shelf or coffee table.
Beyond decoration, these coasters serve their primary purpose beautifully—protecting surfaces from drink spills and heat damage. Whether I’m hosting friends for a casual gathering or enjoying a quiet evening at home with a cup of tea, having these unique coasters adds a personal touch that sparks conversation and admiration from guests. Each time someone admires them or asks about how they were made, it gives me an opportunity to share my creative journey and inspire others to try their hand at crafting their own seashell resin coasters.
In conclusion, making seashell resin coasters has been an enriching experience that combines creativity with functionality. From gathering materials to displaying my finished pieces, each step has allowed me to express myself artistically while creating something beautiful for my home. Whether I’m using them daily or showcasing them as decorative accents, these coasters serve as a reminder of my love for crafting and the beauty of nature’s treasures found along the shore.
If you’re looking to transform your space with some unique decor items, you may want to check out this article on interior design tips. One great way to add a touch of summer to your home is by incorporating Summer seashell resin coasters. These coasters not only protect your furniture but also add a beachy vibe to your living space. Pair them with some comforting recipes from another article on comforting recipes for the ultimate cozy and inviting atmosphere.
FAQs
What are summer seashell resin coasters?
Summer seashell resin coasters are decorative coasters made from resin and embedded with seashells, sand, and other beach-themed elements. They are typically used to protect surfaces from water rings and heat damage caused by glasses and mugs.
How are summer seashell resin coasters made?
Summer seashell resin coasters are made by mixing resin with a hardener and pouring it into a mold. Seashells, sand, and other decorative elements are then added to the resin before it cures. Once the resin has hardened, the coasters are removed from the mold and finished with a protective coating.
What are the benefits of using summer seashell resin coasters?
Using summer seashell resin coasters can protect surfaces from water rings, heat damage, and scratches caused by glasses and mugs. They also add a decorative touch to any table setting and can evoke a beachy, summery vibe.
How should summer seashell resin coasters be cared for?
To care for summer seashell resin coasters, it is best to wipe them clean with a damp cloth and mild soap. Avoid using abrasive cleaners or scrubbing the surface, as this can damage the resin and decorative elements. Additionally, it is important to avoid exposing the coasters to extreme heat or prolonged sunlight, as this can cause the resin to warp or discolor.
Where can summer seashell resin coasters be used?
Summer seashell resin coasters can be used on any surface where protection from water rings and heat damage is desired, such as coffee tables, dining tables, and outdoor patio furniture. They are also popular for use in beach-themed or coastal-inspired home decor.


 using WordPress and
No responses yet