This post may contain affiliate links. When you purchase through links on our site, we may earn an affiliate commission.
What if I told you the average American stares at blank walls 4 hours daily? Flat surfaces don’t just drain energy from rooms – they miss the chance to tell visual stories. That’s why I’ve spent years mastering techniques that turn lifeless drywall into conversation starters.
My obsession began when I brushed Venetian plaster across a bathroom wall. Suddenly, morning light danced across ridges and valleys I’d created. That magical moment proved how dimensional finishes could redefine spaces without costly renovations.
Through trial and error, I discovered texture’s hidden superpower: it forgives imperfections better than flat paint. Whether mimicking concrete’s rawness or silk’s softness, layered materials help DIYers achieve pro-level results. The trick lies in pairing techniques with your room’s personality.
Key Takeaways
- Textured surfaces add visual weight to rooms, making them feel intentionally designed
- Most techniques require basic tools – start with knockdown sponges or trowels
- Ceiling treatments can visually raise or lower room height through pattern direction
- Test finishes on large boards before committing to full walls
- Combine paint sheens (matte + gloss) within textures for dramatic light play
Last month, a client gasped when her “boring box” bedroom became a desert-adobe retreat using just joint compound and glaze. That reaction? That’s why I keep pushing boundaries with materials most people overlook. Let’s explore how you can create similar transformations.
Introduction to the World of Textured Finishes
I never expected a simple sponge to revolutionize how I design spaces. Textured finishes became my secret weapon after seeing how they trick the eye and amplify light. Unlike flat surfaces, these treatments create movement – like giving your walls a heartbeat.
https://www.youtube.com/watch?v=OU6uToig_EA
Why Texture Changed My Design Approach
My first textured project involved a popcorn ceiling in a 1970s ranch house. What seemed dated became dramatic when paired with matte wall painting. The contrast made me realize: texture isn’t just decoration – it’s visual storytelling.
Different methods evoke unique feelings. A knockdown finish feels modern yet cozy, while Venetian plaster whispers luxury. I’ve used orange peel textures in kids’ rooms – they hide fingerprints better than satin paint!
Ceiling Transformations That Surprise
Ceiling treatments work harder than wall textures. Vertical swirl patterns make low rooms feel taller. Horizontal trowel marks widen narrow spaces. Check out these popular options:
| Type | Description | Best For |
|---|---|---|
| Knockdown | Mottled, flattened peaks | Modern living rooms |
| Orange Peel | Subtle dimpled surface | High-traffic areas |
| Swirl | Circular brush patterns | Dining rooms |
| Smooth | Flat, sleek finish | Contemporary spaces |
Last week, I transformed a client’s bland attic into a Moroccan-inspired lounge using just painting techniques and a whisk broom. The textured finish hid uneven drywall while creating depth that flat paint could never achieve. That’s the magic – every stroke adds character.
Essential Tools, Materials, and Surface Preparation
A well-prepared surface is the canvas for texture magic. Through trial and error, I’ve discovered that 80% of a successful project happens before applying the first scoop of joint compound. Let’s break down what you’ll need to turn flat planes into dimensional masterpieces.

Gathering the Right Tools and Products
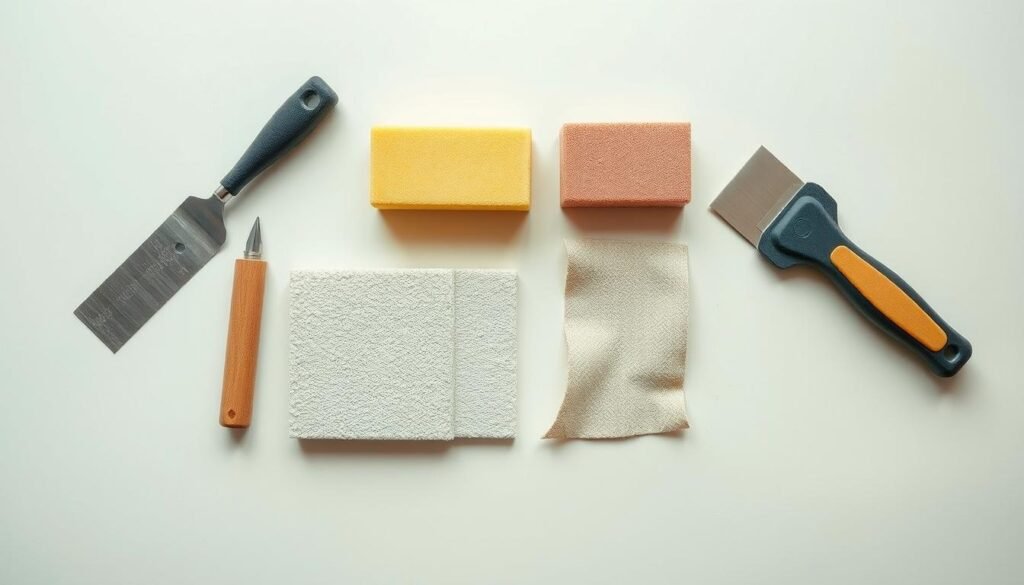
My toolkit always includes three non-negotiables: premium joint compound, a stainless steel trowel, and a mixing paddle. Cheap materials create clumpy textures that crack within weeks. For ceiling work, I use lightweight compound – your shoulders will thank you later.
Don’t overlook protection tools. Painter’s tape seals edges cleaner than masking tape. Heavy-duty drop cloths prevent compound splatters from ruining floors. Pro tip: Use blue tape for delicate drywall and green for tougher surfaces.
Preparing Your Walls and Ceilings for Success
Clean surfaces make all the difference. I wipe drywall with a damp sponge to remove dust. For ceilings, a vacuum extension attachment works wonders. Repair hairline cracks with setting-type compound – it dries faster than standard versions.
Primer is your secret weapon. I apply two coats of painting primer using a 3/4-inch roller. This creates the perfect “tooth” for texture adhesion. Always protect your area with plastic sheeting before mixing materials. Trust me – dried compound on hardwood floors isn’t a design choice.
Experiment with textured walls and ceilings for added depth: Step-By-Step Techniques
Mixing compounds feels like baking – precise ratios create magic. Through 37 failed batches, I discovered the golden rule: one part joint compound to ten parts ceiling paint. This pancake-batter consistency clings perfectly without sagging. Always mix with a drill paddle – hand-stirring leaves lumps that ruin smooth application.

Mixing Your Paints and Compounds
My go-to blend uses 1.5 cups of compound per gallon. Test your mix on cardboard first – if it holds peaks without cracking, you’re golden. Pro tip: Add paint tint to the compound before mixing for consistent color depth.
Application Methods: Rolling, Trowel, and Sponge Techniques
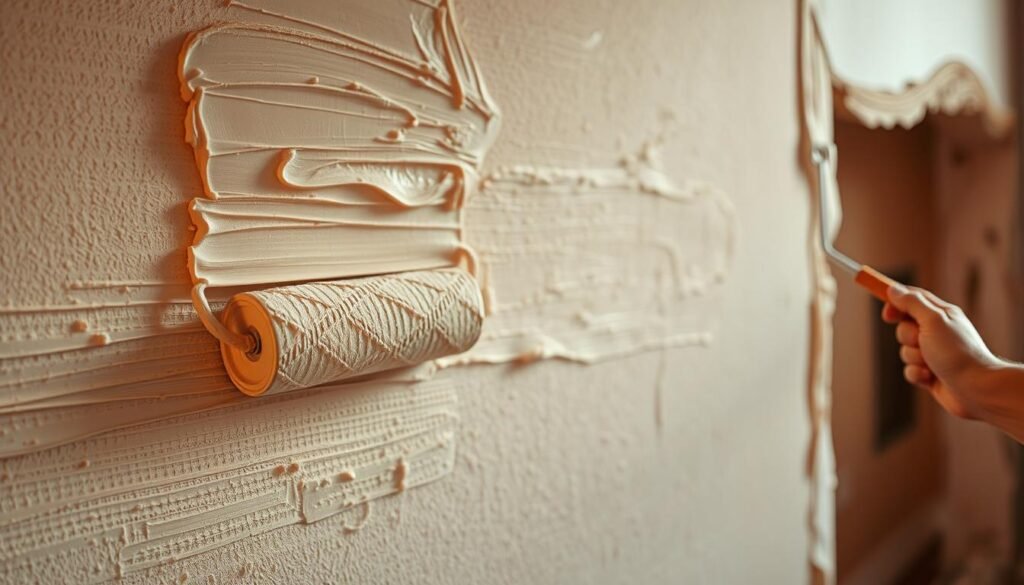
For subtle texture, load a 3/4-inch roller and apply in overlapping W patterns. Want drama? Slather 1/8-inch layers with a stainless steel trowel, then press a damp natural sponge into wet compound. Twist clockwise for organic swirls that catch light beautifully.
Creating a Unique Texture with Painter’s Tips
Work 3×3 foot sections – larger areas dry too fast for pattern consistency. Vary sponge pressure: heavy dabs create canyon-like grooves, light touches add delicate veining. Let each zone dry completely (2-4 hours) before tackling adjacent spots. This prevents smudging and preserves crisp details.
Creative Techniques for Unique Wall and Ceiling Textures
Designing with texture is like giving your walls a voice – every pattern tells its own story. My favorite projects blend precision with playful experimentation to create unique surfaces that command attention.

Using Stencils and Geometric Patterns
Stencils transformed how I approach wall painting. I recently used hexagonal templates to turn a nursery ceiling into a honeycomb wonderland. Here’s my method:
- Choose stencils 30% smaller than your wall area
- Trace outlines with chalk before cutting compound
- Alternate matte and glossy paints within shapes
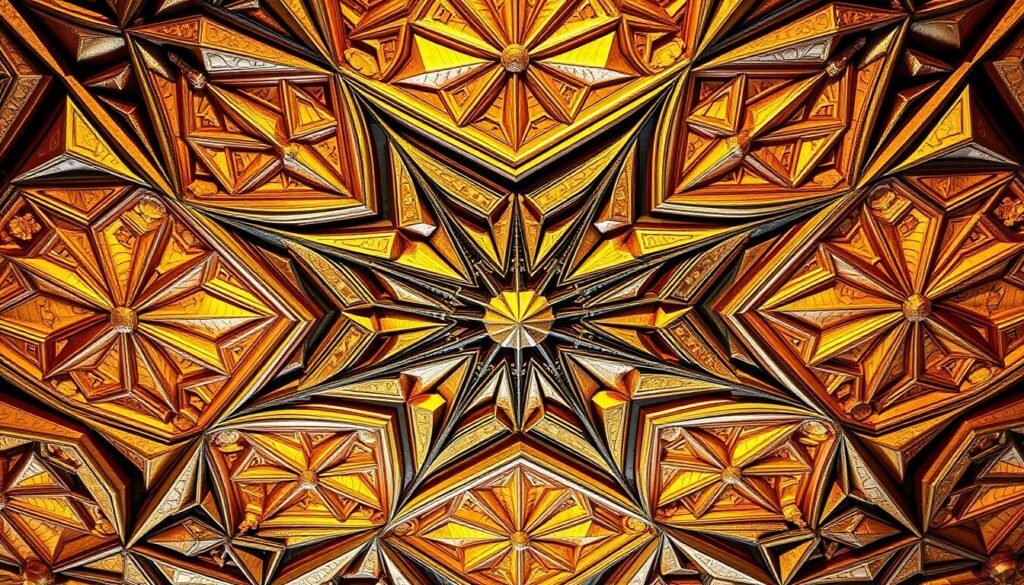
Overlapping patterns add depth without overwhelming spaces. Try combining circles and triangles – the contrast creates movement that flat walls lack.
Layering Textures for a 3D Look
Three elements make layered textures sing: contrast, scale, and light response. I once combined:
- Base coat: orange peel spray texture
- Middle layer: embossed vinyl wallpaper strips
- Top coat: hand-troweled metallic glaze
This combo made afternoon light dance across the ceiling texture like water reflections. Remember: darker recesses create unique shadows that emphasize depth.
For textured ceilings, the orange peel technique remains my go-to. Mix joint compound with primer (3:1 ratio) in a hopper gun. Hold it 18″ from the surface and spray in circular motions. The result? A forgiving surface that hides flaws while adding character.
Practical Tips for Longevity and Maintenance
Keeping dimensional surfaces looking fresh requires smart care strategies. Through years of maintaining clients’ feature walls, I’ve developed reliable methods that preserve texture while simplifying upkeep.
When Texture Goes Wrong: Quick Fixes
Uneven patterns test every painter‘s patience. My golden rule: let the surface dry completely before touching it. Sand high spots gently with 120-grit paper, then apply thin layers of drywall compound to depressed areas. Blend edges with a drywall knife held at 15°.
For fresh drips, act fast. Scrape still wet globs using a trowel edge. If compound dries first, wet-sand carefully to avoid damaging surrounding textured ceiling details.
Keeping Textures Pristine
Dust loves hiding in crevices. I vacuum textured ceilings monthly using a horsehair brush attachment. For stains:
| Issue | Solution | Tools |
|---|---|---|
| Cobwebs | Static duster | Extendable pole |
| Grease spots | Dish soap solution | Microfiber cloth |
| Water marks | Baking soda paste | Soft toothbrush |
Touch-ups need finesse. After cleaning the area, I dab matching finish using an artist’s brush. Let repairs dry overnight before painting. Pro tip: Store leftover drywall compound in dated containers for perfect texture matches later.
Remember – textured surfaces age beautifully when maintained properly. A little care keeps your room‘s character intact for decades.
Conclusion
Texture transforms rooms in ways flat paint never could. My journey with dimensional finishes began with a sponge and curiosity – now it’s become my favorite method for injecting character into blank spaces. Whether you’re smoothing joint compound on ceilings or stenciling patterns on walls, each technique tells your home’s story.
Start small. A basic sponge application or orange peel spray can redefine a bathroom or hallway. Once comfortable, layer metallic glazes over textured paint for light-catching drama. Remember: your walls don’t need perfection – they crave personality.
Through years of testing techniques, I’ve found that texture works like a magic eraser. It disguises flaws while creating focal points. My best advice? Let your space guide you. High-traffic areas love durable knockdown finishes, while bedrooms shine with soft Venetian plaster.
Grab that trowel and make your mark. Every stroke adds depth, every layer builds intrigue. Your home deserves more than flat walls – it deserves a textured legacy that evolves with your style. Trust me, once you start, you’ll see potential in every surface.

 using WordPress and
No responses yet