This post may contain affiliate links. When you purchase through links on our site, we may earn an affiliate commission.
Have you ever looked at an old item and wondered if it could become something extraordinary? That’s how my love for breathing new life into forgotten treasures began. Today, I’m excited to share how repurposing everyday objects transformed my space—and how it can do the same for yours.
Years ago, I stumbled upon a chipped vase at a thrift store. Instead of tossing it, I gave it a fresh coat of paint and turned it into a statement piece. That moment sparked a journey of creativity I never expected. Now, I thrive on finding hidden potential in what others might overlook—like vintage frames, mismatched dishes, or even worn-out furniture.
This isn’t just about saving money (though that’s a bonus!). It’s about creating a home that tells your story. Every project adds character, from hand-painted mason jars to reinvented shelving units. You’ll discover how simple tweaks—like adding fabric scraps to lampshades—can make rooms feel cohesive and intentional.
Key Takeaways
- Transform ordinary objects into unique decor without breaking the bank
- Discover how thrifted finds can become focal points in any room
- Learn techniques to personalize your space with sentimental touches
- Explore creative ways to reduce waste through reinvention
- Get inspired by real-life examples from my own decorating journey
Introduction to My Upcycling Journey
My obsession started with a chipped teacup from a yard sale. I saw its floral pattern peeking through dirt and thought, “This deserves better.” That moment flipped a switch—suddenly, every scratched table or faded mirror became a blank canvas. I realized upcycling wasn’t just about fixing things. It was about rewriting their stories.
Why I Love Transforming Old into New
There’s magic in taking something dismissed as “junk” and revealing its charm. I once turned a dented breadbox into a retro bathroom cabinet. Friends couldn’t believe it was the same piece! Projects like this taught me creativity thrives within limits. Scratches? They add character. Faded paint? A chance to reimagine color schemes.
The Personal Touch in Every Project
Every thrift store find becomes a puzzle. Last year, I discovered a water-stained end table missing a drawer. Instead of replacing it, I filled the space with woven baskets—now it holds my knitting supplies. These items carry history, and my tweaks layer new memories onto theirs. That’s the heart of upcycling: making functional art that whispers, “I was loved before, and I’m loved anew.”
Understanding DIY Upcycled Home Accessories
What if every object held untapped potential? For me, upcycling means seeing beyond a surface—it’s about uncovering hidden beauty while honoring an item’s roots. Unlike basic repurposing, which changes function, true transformation happens when we elevate both form and story.
https://www.youtube.com/watch?v=pLrjcxRSM-Q
What Upcycling Means to Me
Take that wooden ladder collecting dust in a garage. Repurposing might turn it into a blanket rack. But upcycling? Sanding its rungs, adding reclaimed wood shelves, and staining it creates a rustic bookshelf. The difference? We amplify value instead of just shifting purpose.
Every piece I rework carries two histories: its original life and the new chapter I craft. A chipped serving tray became a vibrant wall clock using mosaic tiles from broken dishes. These items aren’t just functional—they spark conversations about sustainability and ingenuity.
This approach reshapes how I view consumption. Why buy new when creativity can revive what exists? My favorite projects start with questions: “What story does this want to tell now?” The answers become decor that feels intentional, not disposable.
Sourcing Materials for Creative Home Decor
Ever wondered where to start when hunting for materials that spark creativity? The secret lies in seeing potential where others see clutter. My favorite finds come from three places: thrift stores buzzing with forgotten gems, garage sales hiding quirky treasures, and yes—even that dusty corner of your own basement.
Finding Hidden Treasures in Thrift Stores and Garage Sales
I’ve scored solid wood picture frames for $2 and vintage suitcases perfect for storage. Here’s my strategy: arrive early for the best picks, but don’t overlook late-day discounts. Look for sturdy bones—chipped paint can be fixed, but warped wood rarely works. Last month, I found a 1970s dresser missing handles. A quick sanding and spray paint transformed it into a bathroom vanity!
| Source | Best Finds | Tips |
|---|---|---|
| Thrift Stores | Wooden furniture, ceramic vases | Check for solid joints |
| Garage Sales | Mismatched chairs, old tools | Negotiate bundle deals |
| Home Inventory | Scrap wood, unused trays | Reassess every 6 months |
Repurposing Items You Already Own
That chipped serving tray? Prime it and use as a paint palette. Those leftover planks from last year’s project? Stack them into floating shelves. I turned my grandma’s cracked mixing bowls into succulent planters using waterproof sealant. The key is to look at function, not current form.
Keep essentials like sandpaper, wood glue, and metallic spray on hand. You’ll be amazed how a $5 can of paint breathes new life into dated decor. Remember: creativity thrives when you work with what you’ve got!
Project Highlights and Inspiring DIY Ideas
Let me walk you through two transformations that changed how I view ordinary objects. These projects prove that with simple techniques, even basic items can become showstoppers in your space.

Breathing New Life into Thrifted Vases
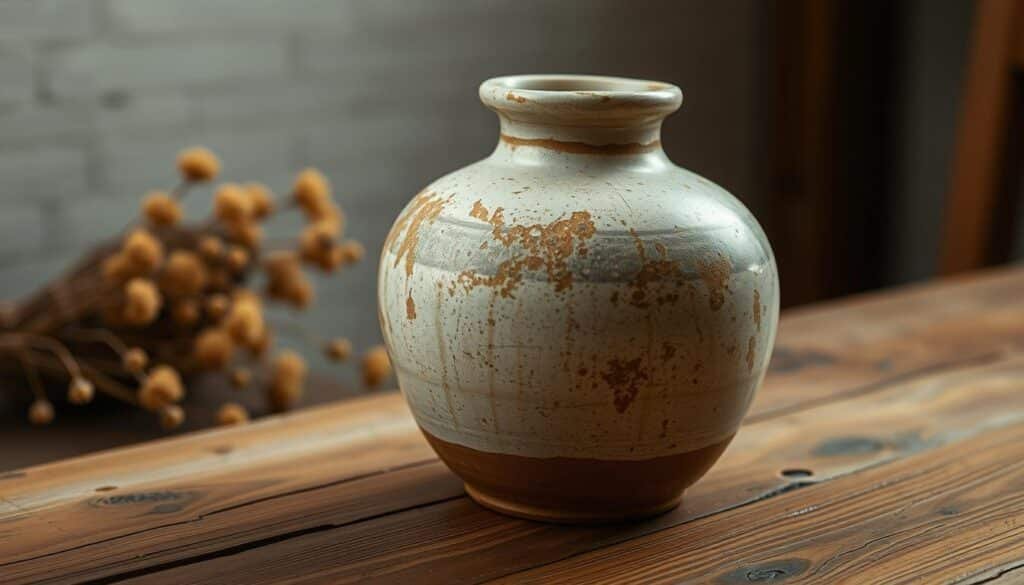
I found a plain ceramic vase at a garage sale last spring. Here’s how I gave it character:
- Lightly sanded the surface for better paint adhesion
- Applied chalk paint in overlapping layers using a dry brush
- Rubbed cinnamon into crevices for instant vintage patina
The magic happens when you let some original color peek through. This technique works wonders on lamps, frames, or any piece needing warmth.
Wooden Bowls with Unexpected Texture
Bleach became my secret weapon for transforming dull salad bowls. After sanding:
“I poured full-strength bleach onto the wood grain and watched patterns emerge like magic. After rinsing, the organic lines reminded me of driftwood.”
Sealing with beeswax polish preserved the raw beauty. Pair these with modern tableware for striking contrast in your home decor.
Pro tip: Always test finishes on small areas first. Mixing textures—like glossy paint next to rough wood—creates depth without clutter. What thrifted find will you reimagine next?
Step-by-Step Tutorials for My Favorite Projects
Creating functional art starts with simple techniques anyone can master. Let’s dive into two transformations that turned ordinary items into conversation starters.
Crafting a Unique Craft Storage from a China Cabinet
I found a dated china cabinet at a flea market. Here’s how I gave it new purpose:
- Removed glass panels and replaced them with wire mesh for ventilation
- Sanded surfaces with 120-grit paper to prep for paint
- Used chalk paint with built-in primer for smooth coverage
- Added adjustable shelves using leftover plywood
Pro tip: Apply a thin coat of furniture wax after painting. It protects surfaces from craft supply scratches.
Refreshing an Old Lamp with a New Coat of Paint
That dusty lamp in your attic? It’s one spray can away from becoming a modern accent. My process:
“I disassembled the lamp, then used a French tip brush to hand-paint floral details over the base coat. Letting layers dry between strokes created depth.”
| Tool | Purpose | Tip |
|---|---|---|
| Wood filler | Repairing dents | Sand when partially dry |
| Spray paint | Even coverage | Hold can 12″ from surface |
| Cutting mat | Measuring fabric | Use rotary blade for clean edges |
Always test finishes on hidden areas first. These projects prove that with patience and basic tools, you can turn “meh” into magnificent!
Essential Tools and Materials for Upcycling
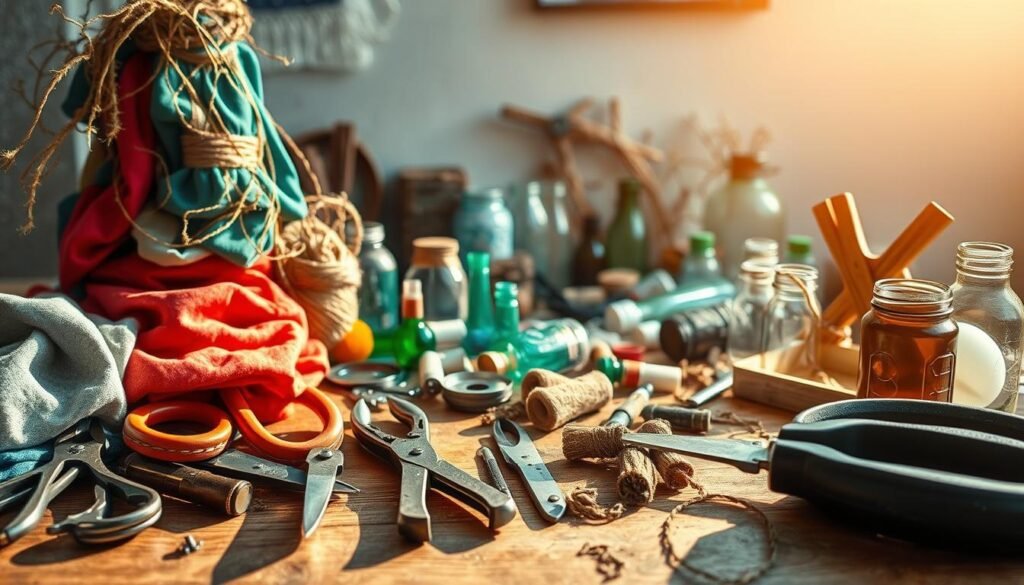
Having the right gear transforms chaotic projects into smooth creations. Over the years, I’ve curated a collection of trusty companions that make reinventing materials both efficient and enjoyable. Whether reviving an old wooden chair or converting salvaged planks into storage solutions, these essentials never let me down.

Must-Have Tools in My DIY Toolbox
My toolbox champions start with 220-grit sandpaper—it’s perfect for smoothing rough edges without overdoing it. A set of angled paintbrushes (1”-2” sizes) handles everything from staining wood to detailing decorative flourishes. When I found a vintage dresser missing drawers, my cordless power drill saved the day by adding custom shelving.
Nothing beats the versatility of a multi-bit screwdriver. As I often tell fellow creators: “Invest in tools that grow with your skills—they’ll outlast trends and tackle unexpected challenges.” My chalk paint kit gets constant use for quick furniture makeovers, while reclaimed boards from demolition sites become floating shelves or rustic picture frames.
| Tool | Purpose | Tip |
|---|---|---|
| Reclaimed wood boards | Shelving, wall art | Check for insect damage |
| Chalk paint kit | Vintage finishes | Mix custom colors |
| Adjustable wrench | Furniture assembly | Lubricate hinges first |
I source most materials locally—hardware stores carry quality sealants, while thrift shops offer cheap glass jars for brush cleaning. Last month, I turned a warped bookshelf into a gallery wall using leftover brackets. Remember: great tools don’t need to be expensive, just reliable enough to handle your wildest creative visions!
Personal Tips for Customizing Your Home Decor
What makes a thrifted find truly yours? The magic lies in those final touches that whisper your style. Over the years, I’ve discovered small tweaks that turn generic pieces into conversation starters. Let me share the techniques that add soul to every project.
Adding a Personal Flair with Distressing Techniques
Distressing isn’t just about aging a piece—it’s about revealing its history. For a recent dresser makeover, I sanded edges where natural wear would occur. Then, I rubbed espresso grounds into crevices for instant time-worn charm. The result? A piece that looked lovingly used for decades.
Try these methods:
- Drag a screwdriver lightly across paint layers to create authentic scratches
- Use Vaseline on corners before painting—wipe away after drying for chipped spots
- Rub candle wax on areas you want to resist stain penetration
Integrating Unique Paint Finishes
Metallic wax transformed my boring side table into a stunner. After applying chalk paint, I brushed gold wax over carvings. The subtle shimmer catches light without overwhelming the room. For fabric accents, I’ve dipped lace in watered-down paint to stamp patterns onto plain curtains.
| Technique | Materials | Effect |
|---|---|---|
| Dry Brushing | An old bristle brush | Textured, weathered look |
| Wax Resist | Clear candle, contrasting paint | Layered color depth |
| Fabric Stenciling | Lace scraps, acrylics | Custom patterned textiles |
Last month, I turned a storage trunk into a coffee table using marine varnish over turquoise stain. The secret? Testing combos on cutting boards first. Your home should reflect your journey—each brushstroke tells part of your story.
DIY Upcycled Home Accessories: A Real-World Impact
When I transformed my first thrifted table, I didn’t realize I was joining a global movement. Beyond personal satisfaction, creative reuse reshapes how we interact with our environment. Let’s explore how these projects create waves far beyond our living rooms.

Sustainable Benefits of Upcycling
Every revived piece tells an environmental success story. Consider this:
- The EPA estimates furniture waste fills 12 million tons of landfill space yearly
- Repurposing one bookshelf saves 50 lbs of CO2 emissions
- My upcycled chairs from a thrift store prevented 300 lbs of waste
I once turned warped materials into wall art that now hangs in our community center. These efforts compound—imagine if everyone repurposed just two items annually!
Cost-Effective Home Transformation
My kitchen table makeover cost $23 versus $800 for new. Here’s how smart reuse slashes budgets:
| Item | New Cost | Upcycled Cost |
|---|---|---|
| Dining table | $600+ | $45 (paint + hardware) |
| Bookshelf | $200 | Free (salvaged wood) |
| Light fixture | $150 | $12 (spray paint + beads) |
That vintage lamp base I painted? It became our living room’s focal point for less than a pizza night. By shopping our homes first, we fund creativity while keeping cash in our pockets.
True magic happens when sustainability meets savings. My upcycle ideas have taught me that small changes—like refreshing materials instead of replacing them—create lasting impacts. What new life will you give forgotten treasures today?
Reflections on My Upcycling Projects and Inspiration
Looking back at my earliest creations now makes me smile. Each scratch-covered piece taught me something valuable—how to see potential in flaws and turn frustration into fuel. This journey isn’t just about crafting decor. It’s about discovering how ordinary items can carry extraordinary stories when given new life.
Lessons Learned from Each Project
That rickety ladder I turned into a storage shelf? It taught me to measure twice before cutting. The mismatched chairs I restored revealed how patience with sandpaper leads to smooth results. Every project whispers its own lesson:
- Embrace imperfections—they add character you can’t buy
- Test finishes on hidden areas before committing
- Let the board warp? Flip it into wall art instead
One of my toughest challenges was reviving water-damaged drawers. After three failed attempts, I discovered a trick:
“Mix equal parts vinegar and olive oil to restore dried wood. Rub it in circles—the grain will drink it up like lotion!”
These moments taught me that upcycling thrives on experimentation. What starts as a “mistake” often becomes the most memorable feature. My advice? Dive into tutorials but make each piece your own. The real magic happens when you trust your creative instincts.
Now, when I spot a cracked picture frame or worn-out crate, I see possibility. Every scratch holds potential for transformation. What will your next upcycle reveal about your creative spirit?
Conclusion
Transforming forgotten items into cherished decor has reshaped how I view my space. Through upcycling, I’ve turned scratched furniture into conversation starters and thrifted chairs into functional art. Each project proves that creativity thrives when we see potential in the imperfect.
The benefits stack up fast. Choosing vintage pieces reduces waste while adding soul to home decor. My $5 thrift store finds often outshine pricier store-bought items. Best of all? Every revived piece carries stories no new purchase can match.
Start small. That chipped picture frame could become a gallery wall centerpiece. Sand a side table. Repaint mismatched furniture. Share your first project below—I’d love to cheer you on!
Remember: Upcycling isn’t about perfection. It’s about giving overlooked treasures a fresh chapter. What will you reinvent this weekend?

 using WordPress and
No responses yet