This post may contain affiliate links. When you purchase through links on our site, we may earn an affiliate commission.
Did you know 85% of Americans have at least one unused item in their home that could become a stunning focal point? What others see as worn-out furniture or outdated decor, I view as blank canvases bursting with potential.
My journey began as a necessity – decorating my first apartment on a tight budget. Now, it’s become a thrilling treasure hunt where I breathe new life into forgotten pieces. The magic happens when you learn to spot quality bones beneath chipped paint or faded fabric.
Through years of trial and error, I’ve perfected my thrift-hunting strategies. I’ll show you how to identify items worth transforming, whether it’s a mid-century side table hidden under dust or vintage textiles waiting for modern styling. The secret lies in seeing not what something is, but what it could be.
Key Takeaways
- Discover budget-friendly methods to refresh your living space
- Learn to recognize high-quality foundations in unexpected places
- Develop creative vision to reimagine items’ potential
- Master practical techniques requiring minimal DIY experience
- Create personalized decor that tells your unique story
This guide will equip you with the same skills I use to turn overlooked finds into conversation-starting pieces. You’ll soon approach every thrift store aisle or garage sale with fresh eyes and endless inspiration.
Introducing My Thrifting and Upcycling Journey
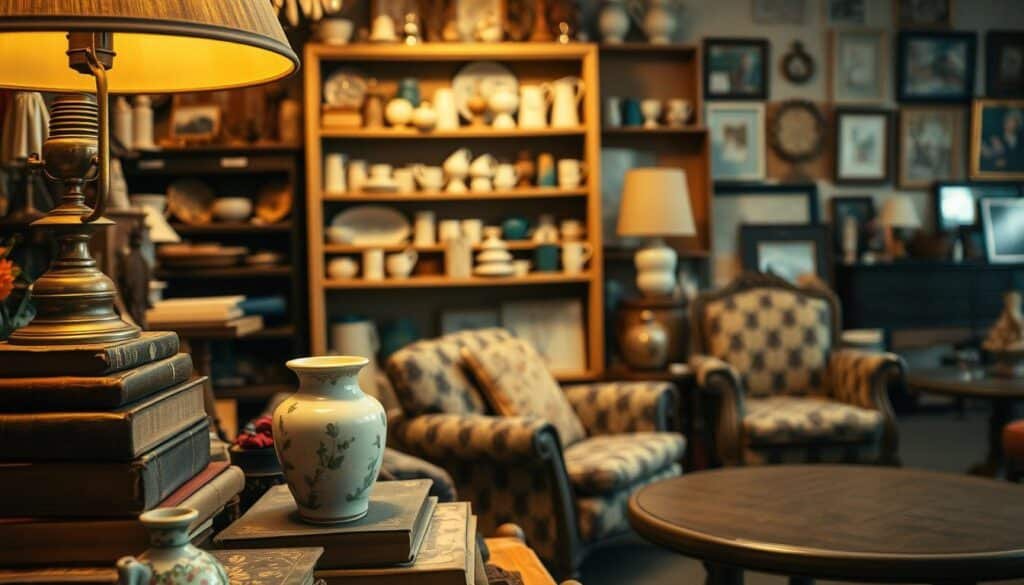
My thrifting obsession began with a $5 lamp that sparked a creative revolution. While hunting for apartment basics, I spotted a brass fixture buried under dust. With polish and a new shade, it became my favorite statement piece – proof that beauty hides in plain sight.
https://www.youtube.com/watch?v=mnP2adXaW0c
How I Discovered Hidden Gems
That first find taught me to see possibilities in every aisle. I learned to spot solid wood under bad paint jobs and quality fabrics beneath dated patterns. What looks worn often just needs simple fixes – sanding, staining, or strategic styling.
The Joy of Creative Resurrection
Breathing new life into discarded pieces feels like solving art puzzles. A chipped dresser becomes a retro bar cart. Faded curtains transform into throw pillow covers. Each project keeps materials from landfills while adding soulful charm to my space.
| Aspect | Thrifted Finds | Retail Items |
|---|---|---|
| Average Cost | $8-$50 | $80-$300+ |
| Unique Character | Built-in history | Mass-produced |
| Customization Potential | Endless options | Limited changes |
Friends often ask how I spot diamonds in the rough. My secret? I hunt for quality foundations – sturdy frames, interesting shapes, or unusual details. The magic happens when you pair these bones with fresh finishes or modern functions.
Getting Started with Thrifting Adventures
What if your next decor treasure hunt could also support community programs? Many thrift stores operate as non-profits, turning your finds into donations for local causes. I still smile remembering the sunflower-patterned bowls I discovered last month – identical to my grandmother’s set from the 70s.

Finding the Best Thrift Stores Near You
My favorite local thrift store started as a hidden strip-mall spot recommended by a barista. I now keep a digital map of 12+ stores within 30 miles. Pro tip: Consignment shops often have higher-end items, while church-run spots offer unbeatable prices.
Chat with regulars while browsing. Last week, a fellow shopper tipped me off about an estate sale with mid-century lamps. These connections transform random stops into curated experiences.
Budget-Friendly Shopping Tips
I bring $40 cash maximum per shop visit – physical money stops overspending. Tuesdays work best for me since weekend donations get processed Monday nights. Found a $150 chair for $20 this way!
Embrace quick visits. Some days I’m in/out in 5 minutes if nothing sparks joy. Other times, I strike gold during “just browsing” trips. The key? Let pieces whisper their potential instead of hunting specific items.
Building rapport with staff pays off. My go-to spot now texts me when wooden furniture arrives. Remember: Every dollar spent at these local thrift stores becomes a great way to reinvest in your neighborhood while scoring unique finds.
Essential Tools and Materials for Upcycling Projects
What separates a Pinterest fail from a showstopping makeover? The answer lives in your toolbox. Through countless DIY projects, I’ve learned that quality supplies turn “good enough” into “where did you get that?!”

Must-Have DIY Tools and Supplies
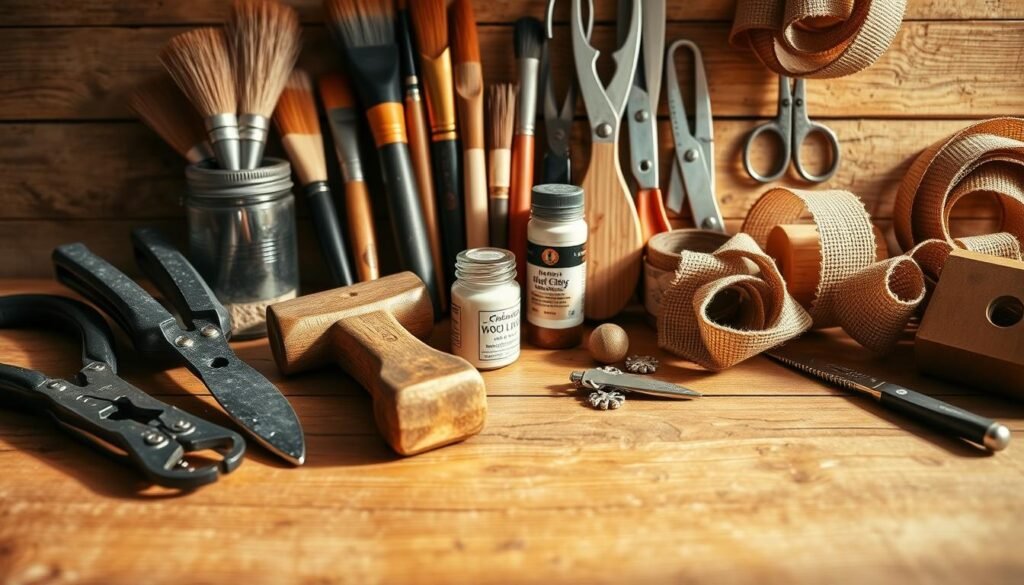
Start with the basics: screwdrivers, pliers, and a reliable hammer. These solve 60% of quick fixes. For bigger transformations, my miter saw handles precise cuts while a drill tackles hardware updates. Pro tip: “Buy tools as you need them – your collection grows naturally with your skills.”
Paint makes magic happen. Chalk paint hides imperfections on furniture. My secret weapon? Colorshot spray paint – under $5 at Walmart with nozzles that prevent finger cramps. Keep multiple brush sizes too. French-tip brushes reach floral carvings on vintage frames better than standard ones.
Don’t skip prep materials! Sandpaper (80-220 grit) removes old finishes. Wood filler patches dings in seconds. I stock three adhesives: wood glue for joints, super glue for small breaks, and hot glue for temporary holds.
A bright workspace matters as much as your tools. Good lighting reveals hidden details, while ventilation keeps spray paint fumes manageable. With these essentials, even first-timers can revive tired finds like pros.
Expert DIY Restoration and Upcycling Techniques
What separates amateur projects from gallery-worthy pieces? The answer lies in preparation and paint application. Through years of transforming discarded items, I’ve perfected methods that turn “meh” makeovers into stunning transformations.
Cleaning and Preparing Your Finds
Every successful project starts with a scrub session. I begin by wiping surfaces with microfiber cloths – damp for wood, vinegar-water mix for metal. For stubborn grime, magic erasers work wonders without damaging materials.
Sanding became my secret weapon after ruining a vintage dresser. Now I follow this rule: “Start rough, finish smooth.” Coarse 80-grit paper strips old finishes, while 220-grit creates baby-soft surfaces ready for paint.
| Grit Level | Best For | Pro Tip |
|---|---|---|
| 60-80 | Removing thick paint | Wear gloves |
| 120-150 | Smoothing edges | Wipe dust frequently |
| 220+ | Final prep | Use circular motions |
Applying a Fresh Coat of Paint and Finishing Touches
Here’s where magic happens. Chalk paint hides flaws beautifully – I apply thin coats using angled brushes. For metal pieces, spray paint delivers factory-like finishes. Patience pays: Wait 24 hours between coats for chip-resistant results.
My favorite trick? Distressing edges with sandpaper before sealing. A clear wax finish protects wood pieces, while polyurethane adds shine to painted surfaces. Last week, this method turned a $10 side table into a French cottage showstopper.
“Proper prep work turns garage sale finds into heirloom quality”
Transforming Thrift Store Finds Into Unique Home Decor
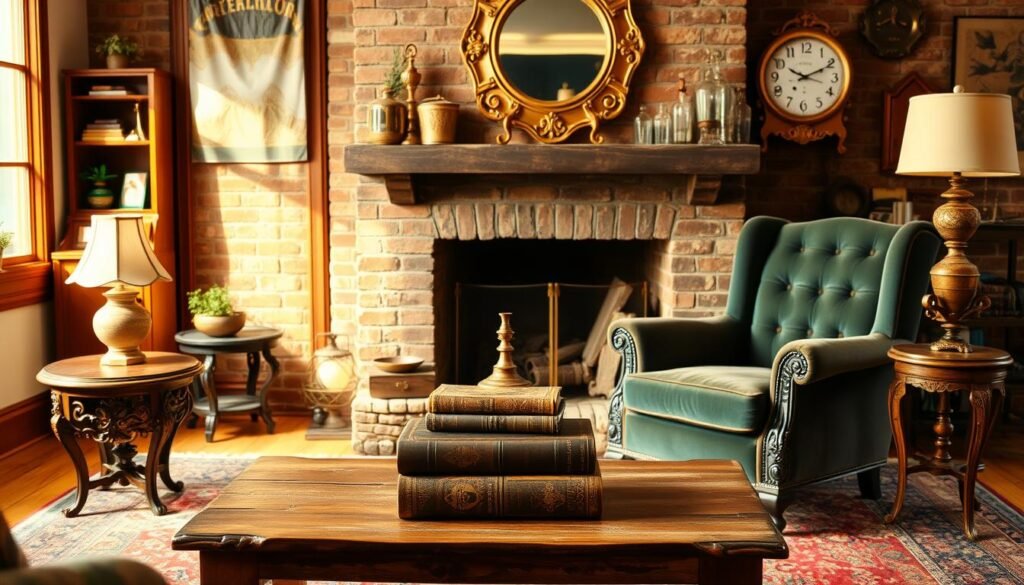
The true magic happens when ordinary objects reveal their hidden potential. My latest triumph? A weathered gun rack reborn as a holiday display piece with repurposed antlers. This transformation embodies why I hunt for thrift store finds – each holds secrets waiting to unfold.

Mixing Vintage Flair with Modern Design
I approach every project like a style translator. Those louvered shutters collecting dust? They became a sleek cardholder after bolting three together. The trick lies in balancing original charm with contemporary function.
Take my favorite spice rack revival. Missing knobs couldn’t hide its adorable drawers. Fresh paint and geometric pulls created a propagation station that marries vintage craftsmanship with modern plant parenting needs. It now showcases succulents in my sunniest window.
| Item | Original Use | New Purpose | Key Modification |
|---|---|---|---|
| Gun Rack | Firearm storage | Seasonal decor | Antler additions |
| Cutting Board | Kitchen tool | Patriotic display | Cricut stenciling |
| Shutters | Window covering | Organization tool | Bolted assembly |
Simple techniques yield dramatic changes. That worn cutting board became a flag holder using painter’s tape and light sanding. The process taught me that unique personalized pieces often start with seeing beyond surface flaws.
Every transformed object tells two stories – its past life and your creative vision. This duality creates home decor that sparks conversations while honoring history. The best part? You’re limited only by imagination, not budget.
Secondhand Shopping and Upcycling for Home Décor: Tips and Techniques
Transforming forgotten items into treasures requires both vision and strategy. My systematic approach begins with scanning store finds for solid bones – think sturdy joinery or unique shapes. That water-damaged dresser drawer? Its curved front became a wall-mounted hook display using hidden French cleats.
I prioritize structural checks over surface flaws. Scratches? Easily sanded. Wobbly legs? Red flag. Last month, I passed on a cracked mirror frame but transformed an intact one into a showstopping bathroom accent. The secret? Balance repair effort with creative payoff.
Color choices make or break transformations. I match pieces to my home palette while letting personality shine through. A wooden hanger got new life as a jewelry organizer with crisp white paint and gold hooks – subtle enough to blend, unique enough to impress.
- Hunt for pieces others ignore – ornate frames become mirrors
- Repurpose materials creatively (drawer fronts → wall art)
- Start with quick wins to build skills
“The best project begins where others see dead ends”
My favorite way to spark ideas? Walk thrift aisles backward – you’ll spot hidden gems missed by routine shoppers. That $3 picture frame now serves as a mosaic tray, proving magic lives in unexpected places.
Creative Upcycling Ideas and Project Inspirations
Creativity thrives when limitations spark innovation. My favorite diy projects begin with ordinary objects that whisper unexpected possibilities. That chipped shelf collecting dust? It moonlights as both paint storage and a cake stand, proving versatility fuels great upcycling ideas.
DIY Furniture Revamps and Decorative Accents
Four salvaged windows became my sunlit coffee table. A weekend project transformed them into a conversation piece using basic hardware and glass cleaner. The secret? Letting original imperfections shine through while adding modern functionality.
From Cutting Boards to Unique Storage Solutions
My kitchen’s latest star started as a warped cutting board. Sanded smooth and mounted with hooks, it now organizes jewelry beside my mirror. This something new approach works wonders: “Repurpose first, replace never.”
A $1 wreath’s glow-up proves quick ideas pack punch. Removing dated snow revealed a feather-friendly base. Jute string from an old mirror completed the earthy look in minutes. These small wins build confidence for bigger furniture transformations.
Every successful project follows one rule: Start where others stop looking. Your next masterpiece might be hiding in plain sight – waiting for fresh eyes and willing hands to reveal its true purpose.

 using WordPress and
No responses yet