This post may contain affiliate links. When you purchase through links on our site, we may earn an affiliate commission.
Did you know 54% of homeowners prioritize kitchen renovations over other home projects? For me, it wasn’t just about updating appliances—it was about reviving the soul of my space. Three years ago, I stumbled across a rusted cast-iron sink at a flea market. That moment sparked a mission to blend timeworn charm with modern functionality.
Growing up, my grandmother’s cozy cooking area—with its chipped enamelware and hand-carved shelves—always felt like a warm hug. When I bought my 1920s farmhouse, those memories guided every design choice. I spent weekends hunting for reclaimed wood beams and authentic hardware, determined to honor the home’s history.
Balancing old and new became my mantra. I paired salvaged barn doors with energy-efficient lighting, ensuring the room stayed functional without losing its rustic heartbeat. Design magazines and renovation experts like Bobby Berk taught me how textures like weathered brick and matte black fixtures could tell a story.
This journey wasn’t just about aesthetics. Every scratch on the farmhouse table or patina on the copper pots reminded me that beauty thrives in imperfection. Let’s explore how intentional choices can transform a forgotten space into a living tribute to the past.
Key Takeaways
- Personal connections to family memories often shape design decisions
- Mixing antique finds with modern conveniences creates balanced spaces
- Reclaimed materials add authenticity and reduce environmental impact
- Staying true to a home’s original character ensures cohesive style
- Textured elements like brick or aged wood enhance visual storytelling
Starting My Farmhouse Kitchen Revival
Peeling back layers of linoleum revealed something unexpected—handwritten dates from 1923 scribbled on subflooring. That discovery became my North Star. I knew this renovation needed to honor the families who’d cooked here before me.
Uncovering the History of Our Home
Local courthouse visits unearthed a treasure trove. Deed records showed the original owners ran a pie business from this very space. “These walls held more than recipes,” a town historian told me. “They stored community stories.”
Ancestry searches connected me with descendants of the builders. Their family photos revealed original cabinet placements and a long-lost pantry layout. Suddenly, my design plans had roots deeper than Pinterest boards.
Initial Challenges and Triumphs
Reality hit hard during demolition. Rotted floor joists and asbestos-lined walls demanded immediate attention. But beneath the neglect, we found intact heart pine beams—their honey tones begging to be showcased.
My biggest win? Saving the 1920s window frames despite contractor protests. Their wavy glass now filters morning light onto my coffee mug, just as it did for generations before. Every scratch tells a story I refused to erase.
Embracing Past Designs and Authentic Details
What if your floorboards could whisper stories? That thought hit me when I discovered salvaged oak planks from a 1900s schoolhouse. Each knot and groove became part of my home’s new voice.
https://www.youtube.com/watch?v=IpRo-xkGjko
Heirloom Finds and Reclaimed Materials
My heart skipped a beat at a salvage yard’s “discard pile.” Beneath warped plywood lay hand-hewn beams perfect for open shelving. A contractor later confirmed their rarity: “This old-growth pine hasn’t been logged since 1912.”
Reclaimed beadboard transformed my breakfast nook. I loved imagining its past life—maybe a Vermont general store’s walls? The timeworn patina added depth no new material could replicate.
The Story Behind Historic Fixtures
Original cabinetry nearly met its demise during demolition. “These frames are solid chestnut,” my carpenter marveled. We kept the bones intact, updating only hardware for modern use.
Every piece here whispers history:
- Cast-iron hinges from a Pennsylvania barn
- Butcher block counters milled from fallen elms
- A pantry door that once graced a Maine lighthouse
Mixing textures became my secret weapon. Rough-sawn wood plays against smooth soapstone counters, creating a lived-in look that feels both curated and accidental. As designer Nate Berkus says: “Good design tells a story that never ends.”
Vintage Farmhouse Kitchen Inspiration: Essential Tips
The secret to a welcoming space lies in balancing history with today’s needs. After trial and error, I discovered three pillars that shape a room’s character: smart storage, intentional lighting, and colors that whisper “home.”
Key Elements to Consider for a Cozy Look
Open pantry designs became my game-changer. Glass-front cabinets showcase heirloom dishes while keeping essentials within reach. For smaller spaces, I used these tricks:
- Installed pull-out drawers in awkward corners
- Added chalkboard labels to vintage jars for pantry organization
- Used woven baskets under islands for hidden storage
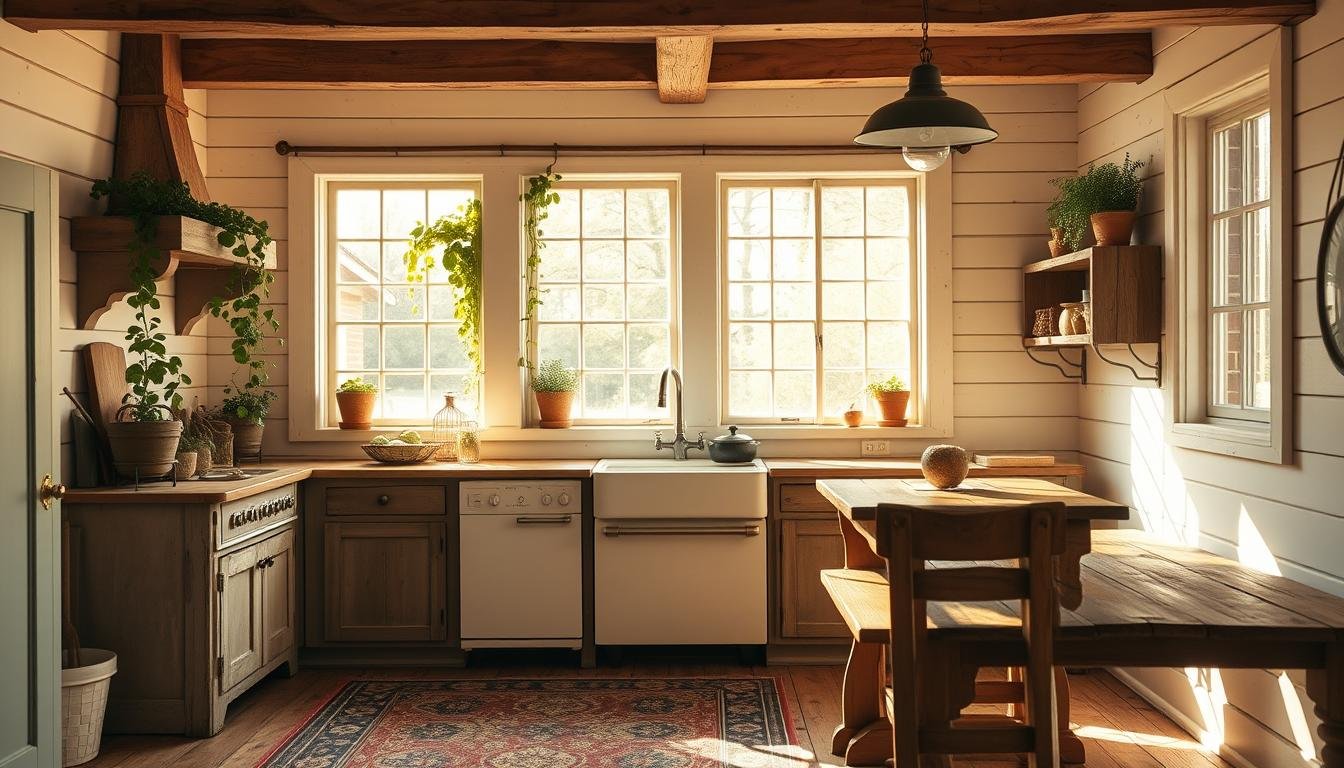
Natural light transformed my mornings. I swapped heavy drapes for linen curtains that filter sunshine softly across reclaimed wood counters. At night, pendant lights with Edison bulbs cast a golden glow—like my grandmother’s oil lamps once did.
Choosing colors required restraint. I landed on a palette of warm whites and muted greens, inspired by the surrounding landscape. A local painter taught me this trick: “Test swatches at different times of day—colors shift with the light.”
Mixing eras keeps the look authentic. My modern fridge hides behind cabinetry matching the original 1920s trim. Floating shelves display antique scales beside my coffee grinder—a dance between past and present that feels just right.
Building a Strong Foundation: Flooring, Walls, and Ceilings
Restoring the bones of my home became a lesson in patience and precision. My hunt led me to a reclaimed wood supplier two states away. There, I found poplar flooring salvaged from a 19th-century textile mill—its knots and saw marks still visible. “This wood breathes history,” the supplier remarked as we loaded planks into my truck.

Installing these floors required creative problem-solving. Warped boards needed gentle persuasion with clamps. I left intentional gaps between planks, mimicking how early builders allowed for seasonal expansion. Beneath them, we preserved the original subfloor’s handwritten dates while adding modern insulation.
The walls presented their own puzzle. Years of paint hid hairline cracks and sections of original brick peeking through plaster. Instead of drywall, I repaired surfaces using traditional lime mortar. Above, new beadboard ceilings echoed early 20th-century craftsmanship—each groove hand-painted to match aged trim.
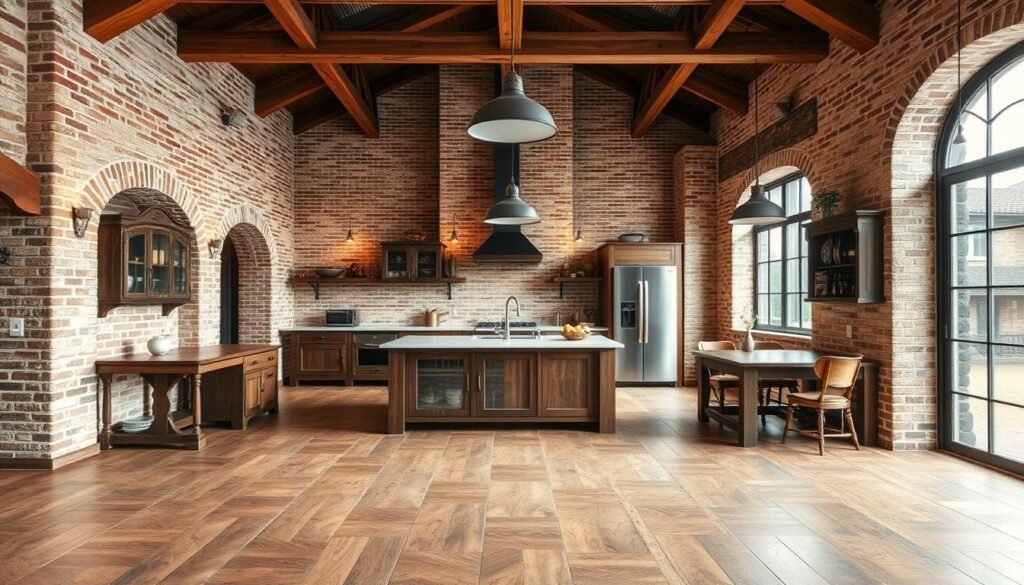
Preserving exposed brick became my proudest decision. Behind Sheetrock layers, we discovered a chimney base with original mortar intact. Now cleaned and sealed, these russet bricks anchor the room’s warmth. Their imperfect edges contrast beautifully with the smooth ceiling above.
Working with aged materials meant constant trade-offs. Replace rotted studs or reinforce them? Hide wires or make them part of the aesthetic? Every choice honored elements like reclaimed wood and historic brick while ensuring modern functionality. As my contractor said: “Old houses teach humility—and creative thinking.”
Restoring Classic Fixtures: The Stove, Sink, and Cabinet
Fixtures became the heartbeat of my space—each restoration project blending technical skill with emotional resonance. Three pieces demanded special attention: a stubborn 1950s stove, a family treasure of a sink, and cabinetry that needed to bridge eras.
Spotlighting the Iconic 1956 Stove Transformation
The Frigidaire Flair’s burnt-orange enamel stopped me mid-stride at an estate sale. Though rusted and silent, its chrome accents hinted at former glory. My restoration process involved:
- Rewiring the entire electrical system with heat-resistant cables
- Hand-polishing original burner grates using baking soda paste
- Preserving the iconic “Jet-O-Matic” broiler despite missing parts
An appliance historian helped source period-correct knobs. “These stoves were built to outlive their owners,” he noted. Now, its gentle hum accompanies my Sunday roasts.
Preserving Heirloom Sinks and Custom Cabinets
My great-grandmother’s sink arrived chipped but radiant. I stabilized its porcelain with epoxy resin, then paired it with a bridge faucet mimicking 1940s designs. Beside it, custom cabinets echo the home’s original trim profile—shaker fronts cut from salvaged poplar.
| Feature | Original Condition | Restoration Technique |
|---|---|---|
| Stove | Non-functional | Vintage component sourcing |
| Sink | Cracked basin | Food-safe epoxy fill |
| Countertops | Stained laminate | Butcher block oil treatment |
For the countertops, I chose walnut butcher block sealed with beeswax. Its warm tones mirror the flooring while resisting knife marks. Every choice honored history without sacrificing today’s needs—like hiding a dishwasher behind cabinet panels matching the 1920s millwork.
Maximizing Functional Storage and Open Shelving
Storage became my greatest puzzle. The original pantry measured just 4×4 feet—too cramped for modern needs. I studied early 20th-century layouts and realized: vertical space held the answer.
Reimagining a Vintage Pantry Layout
Salvaged lumber became my secret weapon. I built floor-to-ceiling shelves using reclaimed oak, leaving natural imperfections visible. Glass jars with handwritten labels now line these ledges, turning dry goods into decor.
Custom-built wood cabinets solved awkward corner gaps. I designed shallow pull-outs for spices and deep drawers for pots. A local carpenter helped replicate 1920s joinery techniques, ensuring new pieces matched original trim.
Balancing storage with airiness tested my creativity. I kept upper walls bare except for floating shelves displaying heirloom dishes. Below, cabinets hide small appliances while maintaining clean sightlines.
Challenges popped up like toast:
- Preserving wall space for a family recipe chalkboard
- Finding narrow bins that fit vintage flour sacks
- Adjusting shelf heights for mixing bowls and modern blenders
Now, every nook works overtime. The walk-in pantry stores bulk items, while open shelves keep daily essentials within reach. What once felt cluttered now whispers, “Come bake something wonderful.”
Inviting Natural Light and Outdoor Views
Sunlight became my unexpected co-designer. I tore down heavy curtains that hid the home’s best feature—panoramic views of rolling fields. Expanding the original window openings by 18 inches transformed the room, flooding it with golden hues that dance across reclaimed surfaces.
Enhancing Ambiance With Thoughtful Lighting
Scouring estate sales, I found three milk glass pendants from a 1940s general store. Their soft glow complements dawn light without overpowering it. I installed dimmer switches to adjust brightness as the day unfolds.
| Lighting Element | Source | Impact |
|---|---|---|
| Milk glass pendants | Estate sale find | Diffuses warm light |
| Wall sconces | Salvaged church fixtures | Highlights brick texture |
| Under-cabinet LEDs | Modern addition | Enhances task areas |
Designing Views That Breathe
Strategic window placement frames our oak grove like living art. I chose slim black frames to disappear against the landscape. Morning coffee now comes with front-row seats to nature’s slow waltz—fog lifting off pastures, cardinals darting through branches.
Local craftsmen helped replicate wavy glass for new panes. The subtle distortions soften the view, blending indoor warmth with outdoor grandeur. As the light shifts, so does the room’s mood—a constant reminder of the country’s quiet magic.
Blending Old Charm with Modern Comforts
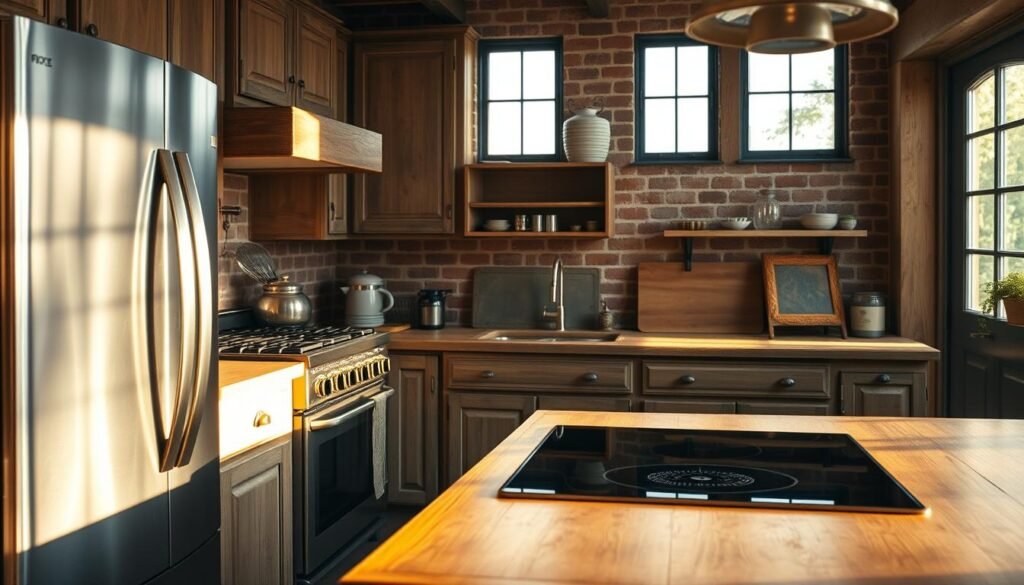
The challenge wasn’t hiding modernity but making it sing alongside history. I approached each update like a curator—selecting pieces that respected the home’s style while answering today’s needs. My refrigerator became the ultimate test case: stainless steel felt too cold against warm wood tones.

Smart Choices for Appliances and Finishes
I discovered panel-ready appliances that disguise themselves as original cabinetry. A local woodworker crafted custom doors matching the 1920s trim, blending my fridge seamlessly into the wall. For smaller gadgets, I repurposed an icebox into a coffee station—its zinc-lined interior now housing a modern espresso machine.
Finishes required a delicate balance. I chose unlacquered brass faucets that develop patina over time, mirroring aged hardware elsewhere. Matte black pendant lights above the island nod to industrial roots without feeling dated. The secret? Letting materials evolve naturally, just like the home itself.
| Feature | Modern Solution | Vintage Integration |
|---|---|---|
| Refrigeration | Energy-efficient cooling | Custom wood paneling |
| Lighting | LED dimmers | Milk glass shades |
| Hardware | Soft-close hinges | Hand-forged iron pulls |
| Surfaces | Quartz composite | Reclaimed wood accents |
Color tones unified the space. I mixed warm whites with earthy greens, inspired by lichen-covered stones on our property. A designer friend advised: “Repeat hues from original features—let the house dictate your palette.” Now, new subway tiles echo the mortar lines in exposed brick walls.
This balancing act created a living space that feels both anchored and alive. My microwave hides in a breadbox-style cabinet, while smart speakers nestle inside repurposed radio consoles. Every morning, grinding coffee beans beside my grandmother’s flour sifter reminds me: good design honors yesterday while embracing today.
DIY Projects and Creative Repurposing Ideas
Salvage projects became my unexpected teachers during renovations. Working with reclaimed materials pushed me to think outside the box while honoring each piece’s history. Let me share how ordinary finds became extraordinary features through hands-on creativity.
Transforming Salvaged Materials into Treasured Pieces
My favorite discovery? A warped butcher block destined for landfill. I sanded its surface to reveal honey-toned maple grain, then sealed it with food-safe oil. Now it serves as a durable baking station—scars and all.
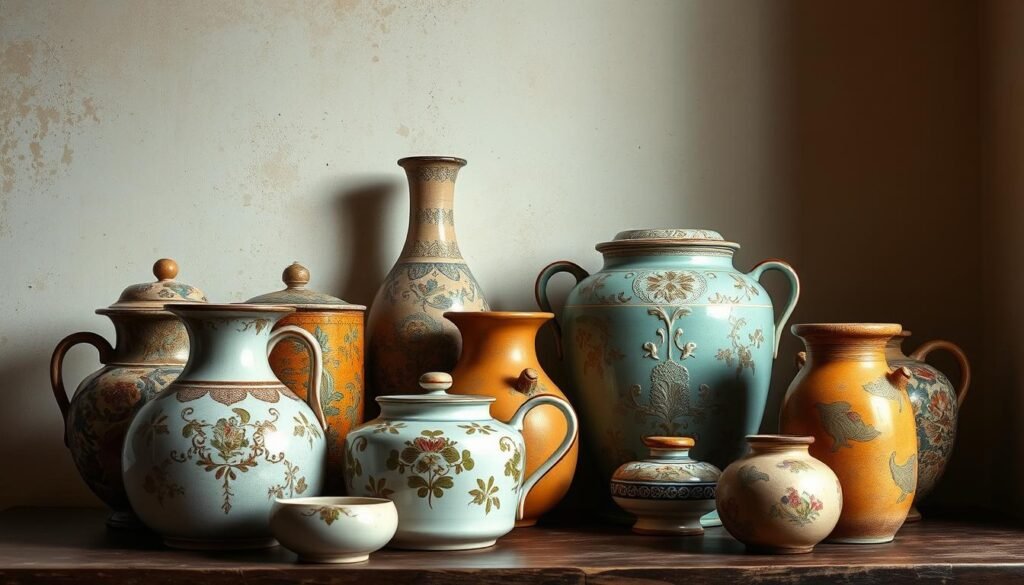
An old library table found new life as a kitchen island. I removed its legs, added casters, and topped it with the restored butcher block. Drawers now hold mixing bowls, while open shelves display ironstone pitchers.
Innovative Techniques I Discovered
Repurposing requires clever fixes. For chipped hardware, I used this method:
- Soak pieces in vinegar to remove rust
- Fill cracks with epoxy tinted with coffee grounds
- Buff with beeswax for protective sheen
Details like hand-stenciled labels and mismatched knobs added personality. My table makeover taught me to embrace imperfections—those dents tell better stories than flawless surfaces.
| Material | Original Use | New Purpose |
|---|---|---|
| Butcher block | School cafeteria counter | Rolling kitchen island |
| Library table | Reading room furniture | Prep station with storage |
| Barn wood | Livestock stall walls | Flooating spice racks |
Start small if you’re new to DIY. Try refinishing a table or adding details like salvaged trim to plain cabinets. As I learned: every scratch holds potential.
Artful Color Choices and Paint Techniques
Choosing paint colors felt like learning a new language—one where every hue whispered secrets of the past. My journey began with lead testing kits and endless swatches, determined to honor the home’s history while creating fresh energy. Original doors became my first canvas, their faded layers revealing generations of style shifts.

I discovered unexpected beauty in imperfections. Chalky blue trim beneath seven paint layers inspired my main wall color—a custom-mixed sage that changes with the light. “Never fight what the house wants to be,” advised a preservation expert during my lead-safe stripping process. Her words guided every brushstroke.
Seasonal Shades and Custom Color Stories
Repurposing doors taught me to balance seasons with timelessness. Summer’s golden hour glows through cottage-inspired cream curtains, while winter’s gray skies make olive-green block accents pop. My secret? A base palette of earthy neutrals with rotating decor pieces.
Key techniques transformed tired elements:
- Restoring butcher block counters with food-safe stain
- Using chalkboard paint on pantry doors for functional charm
- Layering warm whites to highlight original trim details
Every brushstroke served the bigger picture. Salvaged pieces now sing in harmony—a rust-red hutch mirroring brick tones, creamy shelves reflecting morning light. As the sun shifts, so does the room’s mood, proving color’s power to shape stories without saying a word.
Detailing That Defines a Farmhouse Style
True character lives in the details most homeowners overlook. When restoring my 1920s home, I discovered salvaged beadboard hidden beneath drywall—its delicate grooves whispering stories of past Sunday dinners. These elements became my roadmap to authenticity.
Beadboard, Trim, and Original Features
Original trim work became my secret weapon. I painstakingly removed layers of paint from window casings using citrus gel stripper. The revealed heart pine frames guided my design:
- Reused attic beadboard for ceiling accents
- Matched baseboard profiles using historic blueprints
- Repurposed door thresholds as floating shelves
An architect friend noted: “These features anchor the house’s DNA.” My restored transom windows now funnel breezes through the space, just as they did a century ago.
Mixing Industrial Flair With Rustic Charm
I balanced timeworn textures with rugged metals. Black iron brackets support open shelves, while galvanized pipe curtain rods echo the home’s original plumbing. The trick? Let industrial elements play supporting roles.
| Material | Rustic Element | Industrial Twist |
|---|---|---|
| Wall Finish | Limewashed plaster | Exposed junction box covers |
| Hardware | Hand-forged hinges | Brushed nickel pulls |
| Lighting | Antique milk glass | Edison bulb fixtures |
Key lesson: Honor the house’s bones while adding contemporary muscle. My restored butler’s pantry now houses a wine fridge behind beadboard panels—proof that old and new can coexist beautifully.
More Farmhouse Kitchen Inspirations from Trusted Sources
Great design often starts with borrowing wisdom. While working on my space, I devoured insights from experts who specialize in blending heritage charm with modern living. Their guidance helped me see possibilities I’d overlooked—like using shiplap to add texture without overwhelming a compact layout.
Insights from Leading Designers and Renovation Gurus
Joanna Gaines’ approach to open shelving changed how I organize. “Display pieces you use daily,” she advises. This point transformed my cluttered walls into functional art displays. I followed her lead, mixing stoneware bowls with cookbooks for easy access.
An article on vintage lighting from Traditional Home solved my dark corner dilemma. Their gallery showcased industrial pendants above farm tables—a trick I adapted using salvaged fixtures. For tricky layouts, designer Sarah Richardson’s tip proved golden: “Treat every wall as a chance to add depth through materials.”
Struggling with flow? I leaned on Emily Henderson’s rule: “Define zones using rugs or ceiling beams.” This strategy made my multipurpose space feel intentional. Craving more ideas? The Spruce’s shiplap installation guide and Architectural Digest’s historic home features became my go-to references.
These resources taught me that inspiration thrives where expertise meets experimentation. Whether updating a cozy nook or reimagining storage, trusted voices can turn roadblocks into creative breakthroughs.
Conclusion
Three years of sawdust and discoveries taught me that homes, like people, reveal their best selves when we listen. My journey began with cracked linoleum and ended with a space where handcrafted island meets salvaged barn beams—proof that patience rewards us with soulful spaces.
Through trial and error, I learned to let history guide modern choices. Those rusted hinges? Now functional cabinet pulls. The repurposed barn door? A sliding pantry cover hiding smart storage. Every decision honored the past while answering today’s needs.
My custom island, built from schoolhouse flooring, became the heart of daily life. Above it, exposed beams echo agricultural roots without feeling theme-park quaint. These elements whisper stories I’m proud to continue.
To anyone starting their own project: Begin where your home’s heartbeat feels strongest. Let weathered wood guide your palette. Allow found objects to suggest layouts. Most importantly—embrace the beautiful mess of creating spaces that live as richly as they look.
Thank you for sharing this journey. Now, grab your toolbox—your story’s waiting to be written.


 using WordPress and
No responses yet